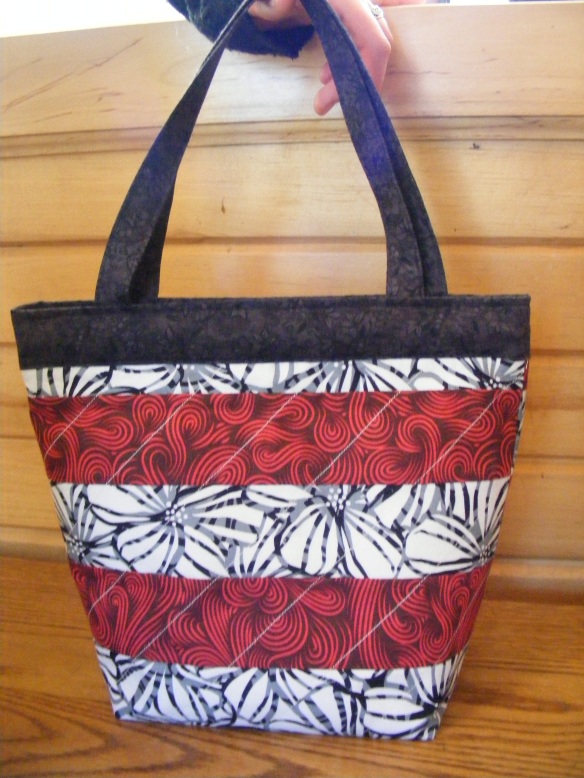
I purchased this pattern at a quilt show and after following the instructions I found some issues with understanding the pattern and reworked it as well as tweaking a few measurements. Here is the finished pattern.
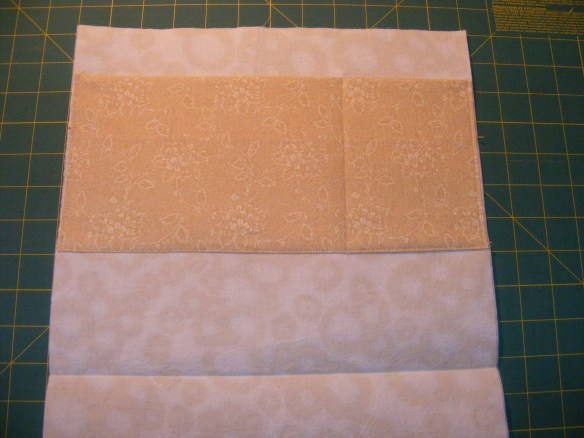
This pattern makes a 10” purse that is completely lined and has 2 inside pockets and snaps closed using a section of metal carpenter tape. (Make sure your hubby is okay with that!) The size of the outside is easy to use from a quilt pattern. Just make sure you have a 12 x 24 inch piece when finished than trim 1/4 inch off each side.
Pieces Needed:
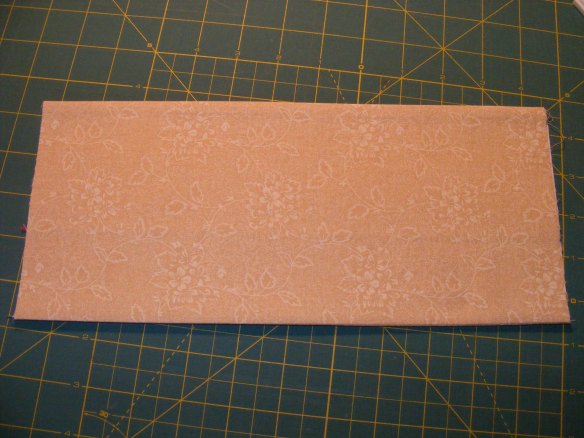
Outside fabric and fusible pellon 12 x 23-1/2 inches
Pocket and pocket facing* 12 x 11-1/2 inches
Lining and fusible pellon 12 x 21 inches
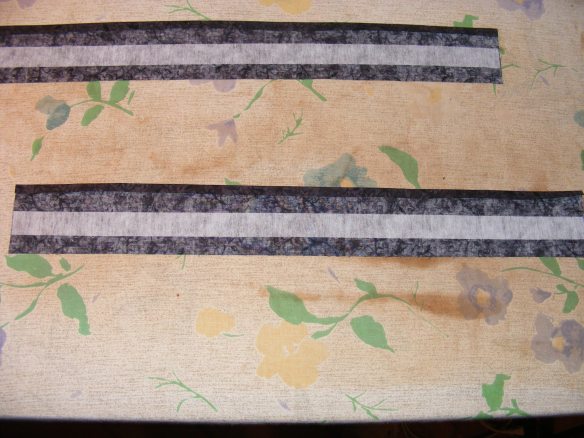
Casing: Cut two strips 3-1/4 x 12 inches
Casing facing*: Cut two strips 2-3/4 x 12 inches
Handles: Cut two 2-1/2 x 18 inches
Handle facing*: Cut two 3/4 x 18 inches
*fusible pellon interfacing
The Outside
Fuse pellon to wrong side of outer fabric and mark the center by pressing in half. Quilt if desired.

Outside with fusible interfacing (pellon)
With right sides together, fold in half and sew the sides together with 1/4-inch seam allowance, leaving the top open. Press seams open.
1/4 inch side seams

Press seams open
To make the flat bottom, match the bottom center to the side seams, mark a line with pen 2 inches in from the point and sew on the line. Sew another line on the outside of that 1/8 inch from first seam.
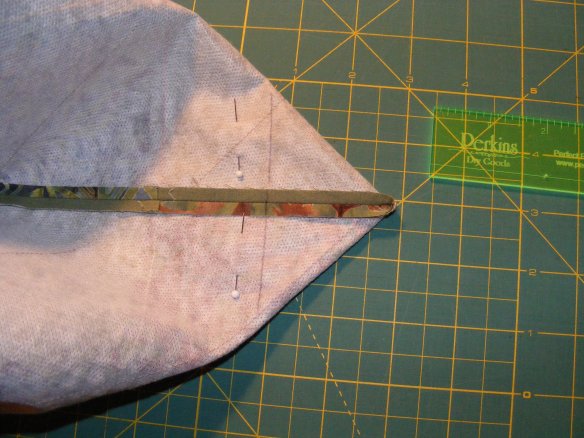
Mark 2 inches in from point

2 seams
Trim off the points leaving 1/4-inch seam allowance. (If you have zigzag you can use that instead of the second seam after trimming.)

Trim point 1/4 inch from marked line
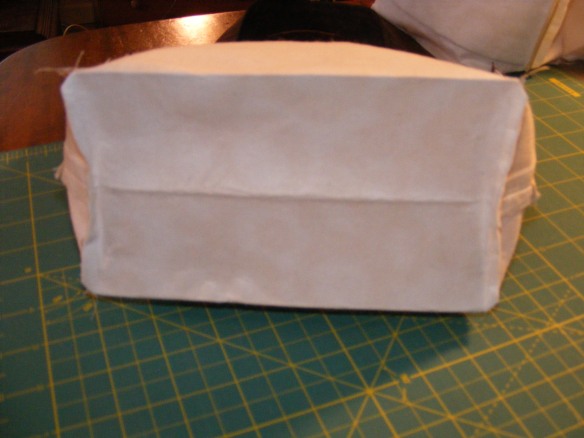
Turn right side out and press bottom rectangle so purse will stand up. Cut a piece of Timtex (or template plastic) 7 x 4 inches and lay in the bottom of your purse under the seams. Set aside.

Press from corner to corner

Standing up
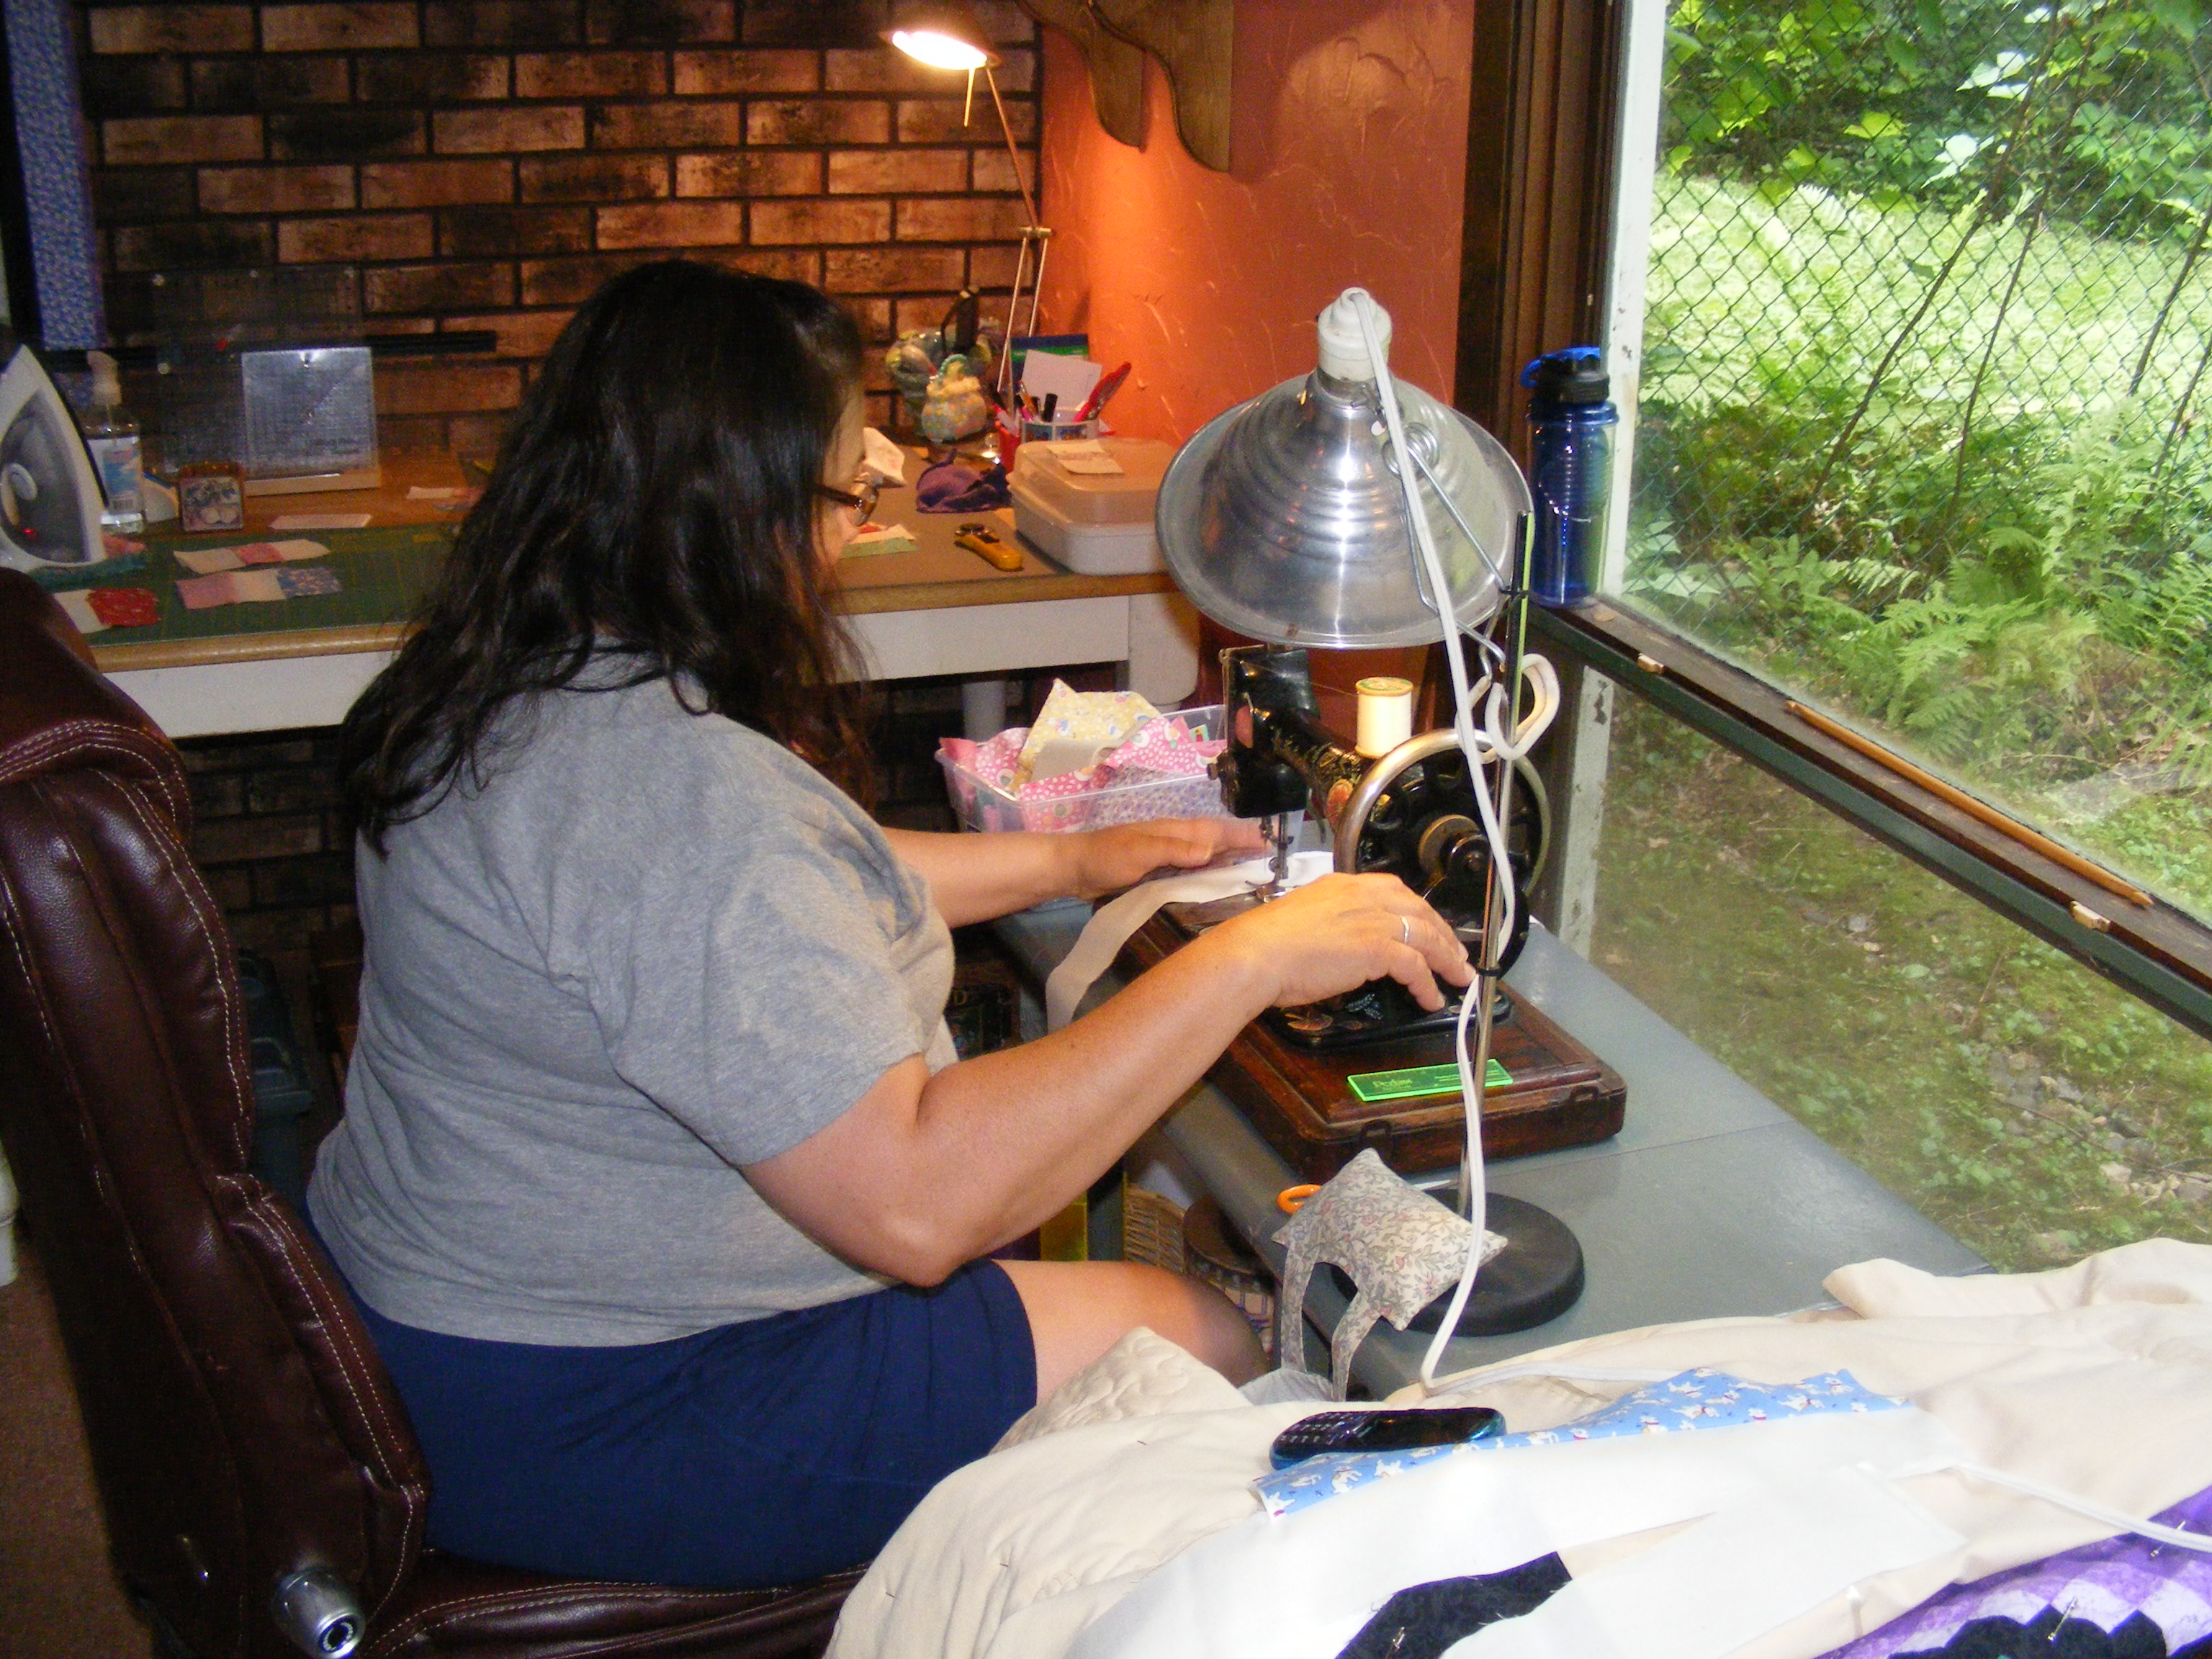
Handles
Press a 1/4-inch seam allowance on one of the long sides of each handle. Place pellon in the center, fusible side up, and bring raw edge up and cover part of the pellon. Then bring the finished side (side with seam allowance) edge over, covering the remaining pellon and raw edge, and fuse in place.
1/4 inch seam allowance pressed, pellon placed in center

raw edge folded up over part of pellon

finished edge folded over to meet other edge…iron
Stitch 1/8 inch from the folded edge and turn and stitch again 1/8 inch from the other side. (The seams match nicely then.)
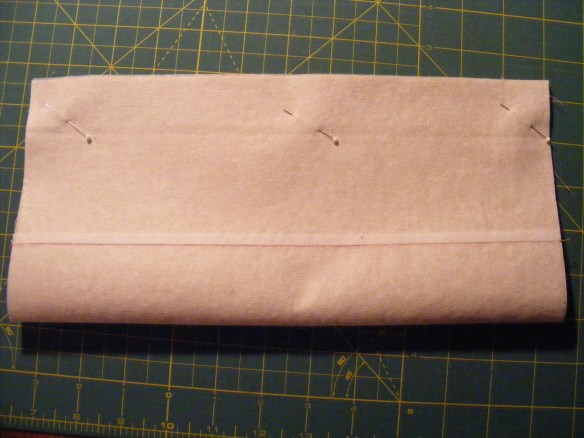
Lining
Press pellon to the wrong side lining piece and mark the center by pressing in half.
Pocket
Press pellon to wrong side of pocket piece. With right sides together fold in half longwise and sew the raw edges with 1/4-inch seam allowance. This forms a tube. Turn right side out and press. Now you have a finished on both sides pocket piece. (The seam you see is where I sewed 2 small pieces of pellon together so as not to waste.)
Pellon fused, sew long edge with right sides together
pressed, finished pocket piece
Pin the pocket 1-3/4 inches from the upper edge of the right side of the lining having the folded edge as the top of the pocket and the seam edge as the bottom. Measure 4 inches from one side of the pocket and mark with pins for the pocket separation. Sew the sides, bottom and pocket divider seam.
Attached finished pocket, seamed on both sides and bottom with divider set of stitches
Casing/Top Purse Edge
Fuse pellon down the center of each of the casing pieces with 1/4-inch uncovered area on top and bottom. Press 1/4-inch seam allowance over the interfacing on one side. Set aside.
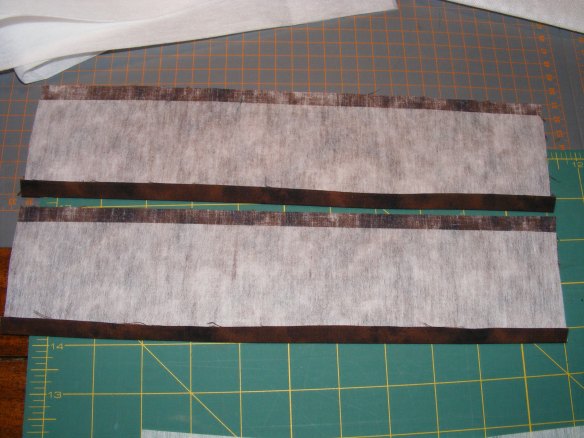
Casing pieces with pellon fused in center, 1/4 inch pressed up on 1 side
Adding the Handles and Casing
Place each end of the handle with the best side facing up 2-1/2 inches in from each edge of the right side of the lining. Pin in place with raw edges matching.

handles 2-1/2 inches in from side with raw edges matching the lining edges
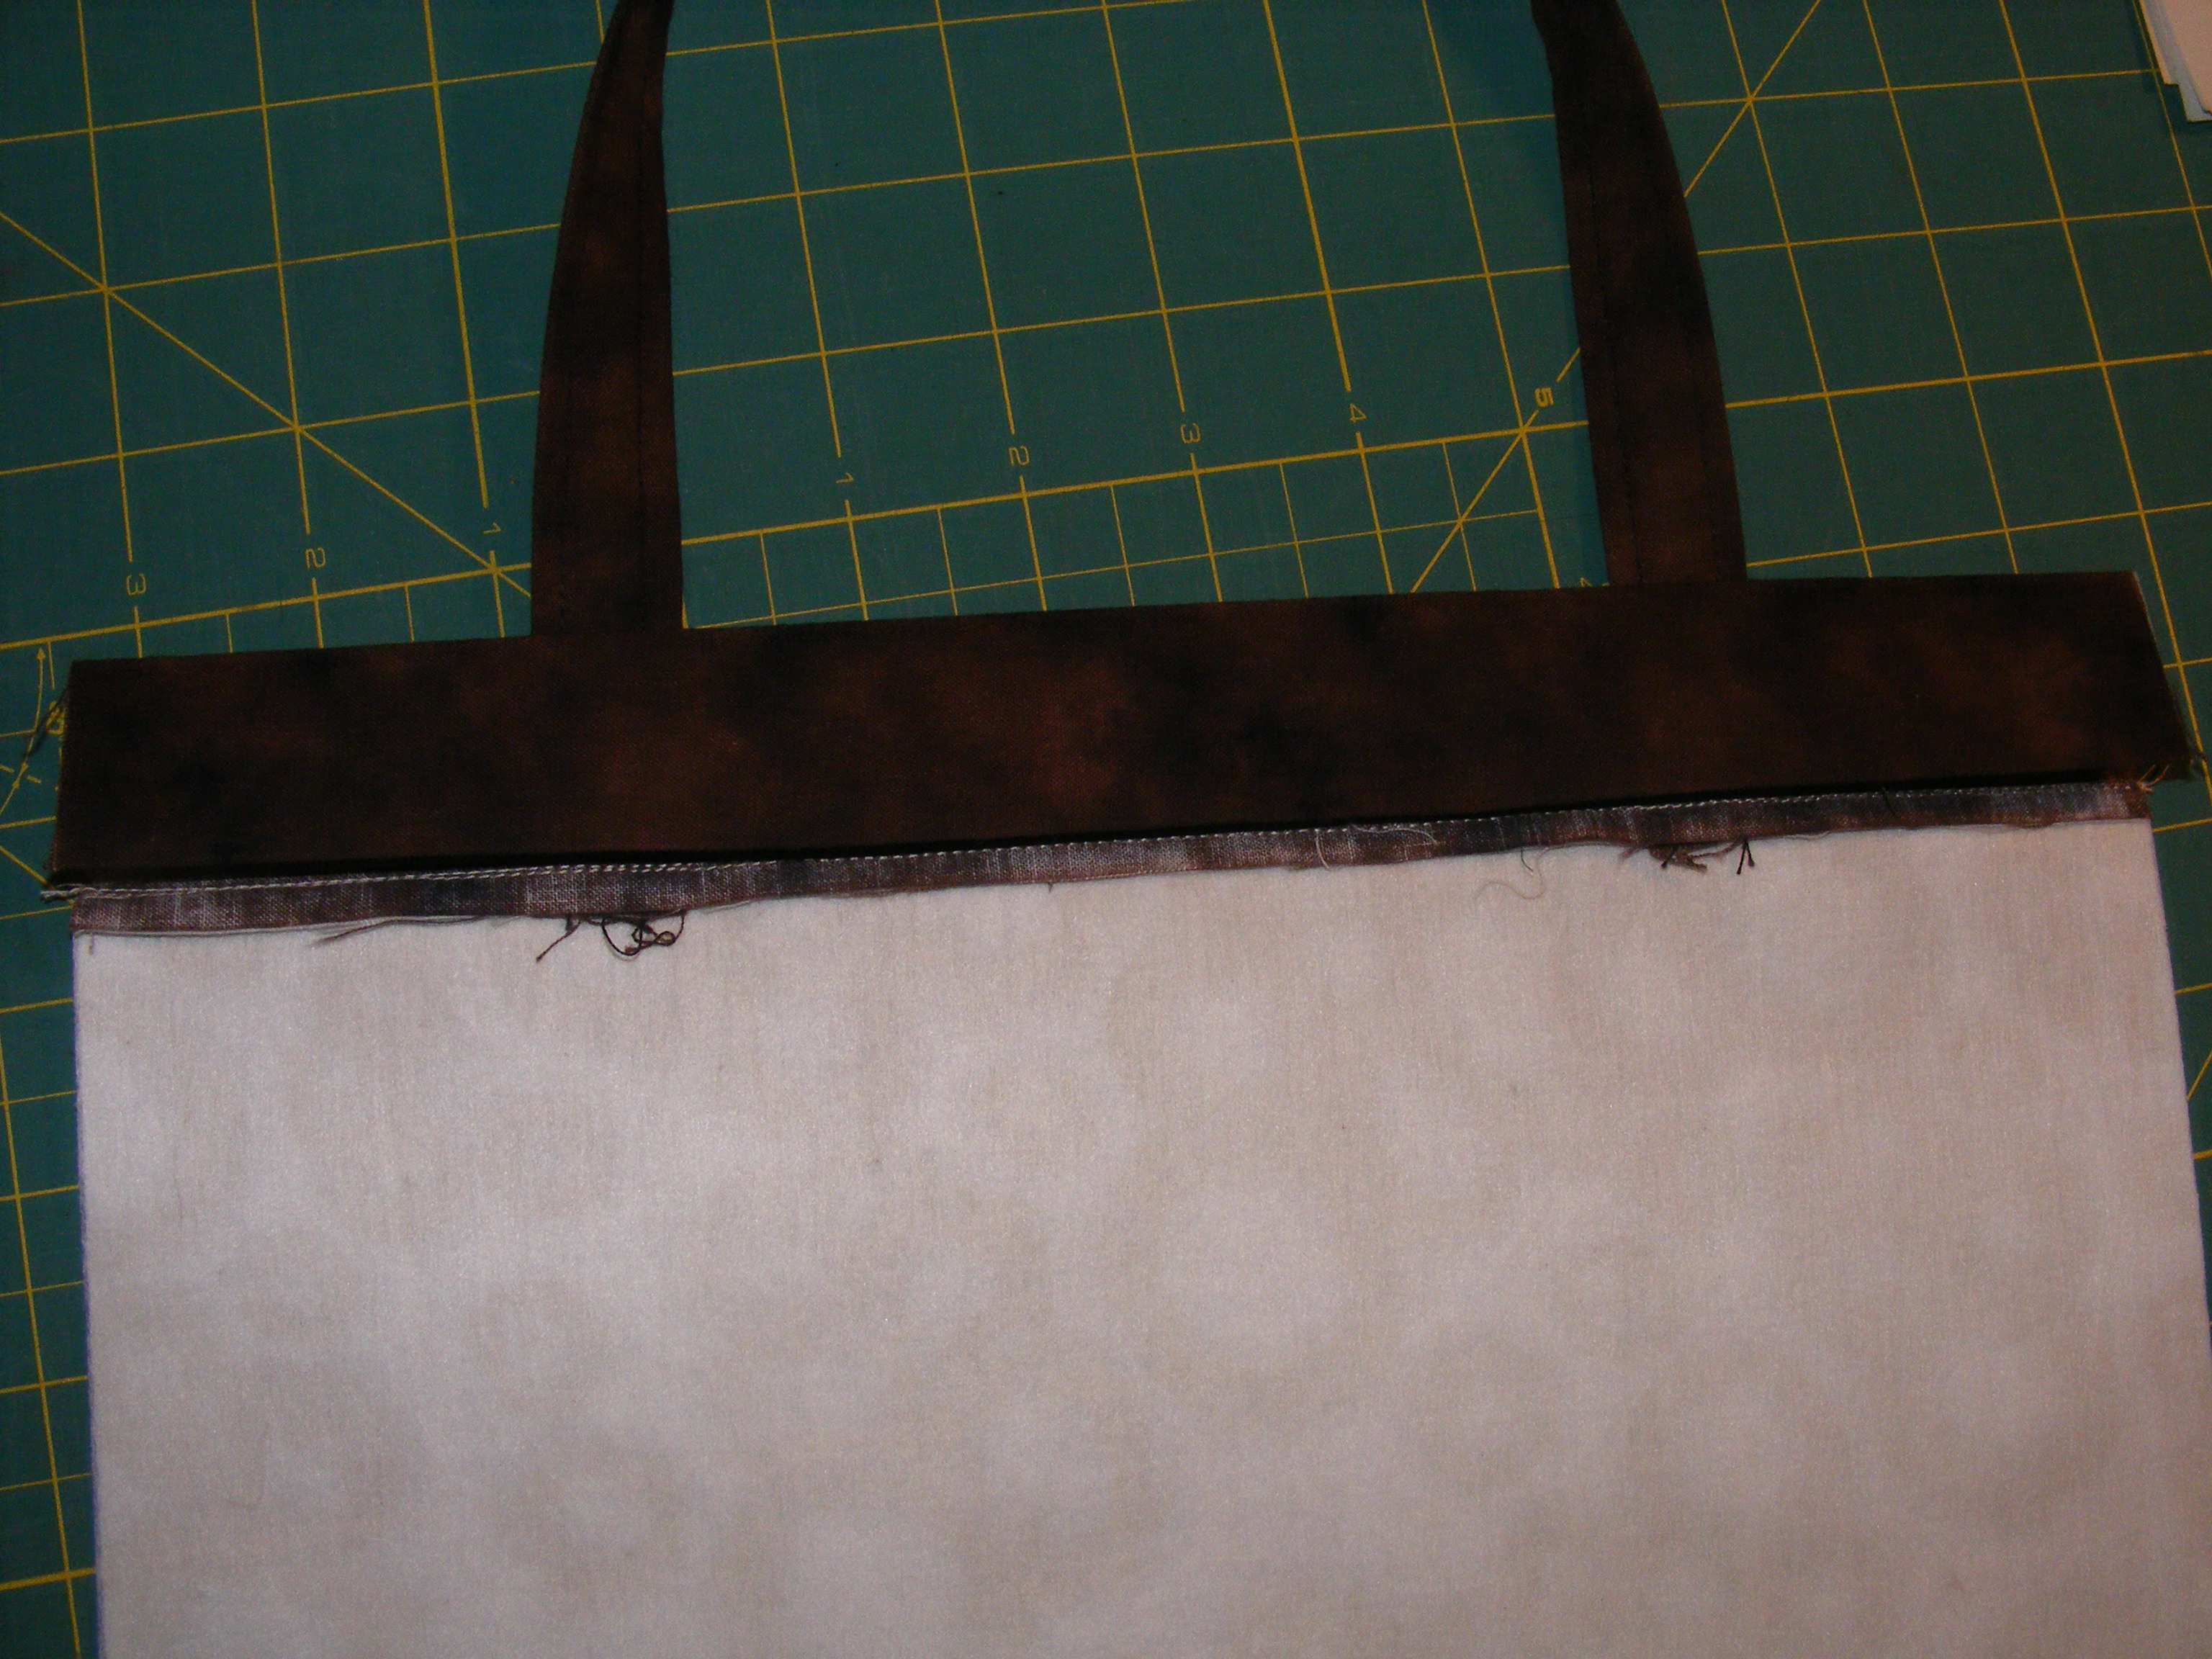
Now place the casing (right side facing right side of lining) on top of the lining and handle and pin in place matching raw edges. Sew with 1/4-inch seam allowance.
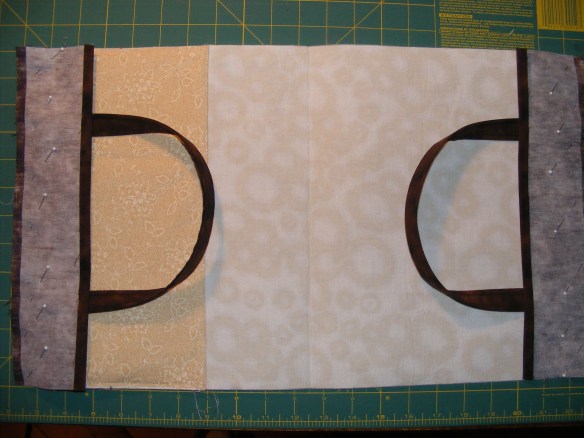
Casing pieces placed & pinned
Press the seam towards the bottom of the lining with handles up and stitch in the ditch securing the seam and adding strength to the handle attachment.

Press seam down towards bottom of lining. Stitch in the ditch with handles up.
To mark the center of the casing, bring the 1/4-inch hem fold down to the stitch in the ditch seam and crease the fold by pressing. Unfold before stitching the seams.

Press with finished edge matching the stitch in the ditch seam
Finishing the Lining
Now fold in half with right sides together being careful to keep the 1/4-inch seam allowance on the top of the casing folded down so you have a finished edge. Pin in place matching edges and top. Sew side seams using a 3/8-inch seam allowance. Press seams open.

Pin, carefully matching edges and seams.

Press seams open
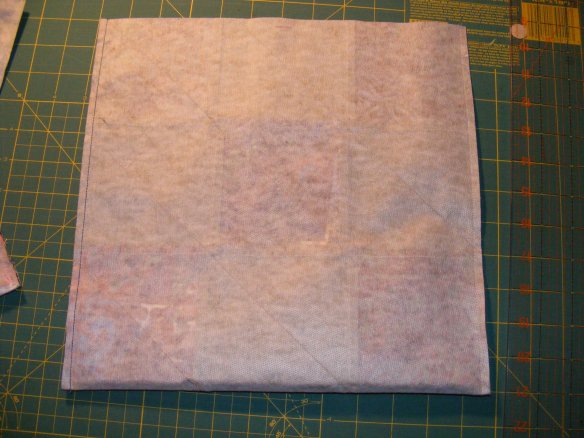
Now make the boxed bottom the same way you made it for the outside matching the center pressmark to the side seams. Sew 2 inches from the point and finish the same as outside instructions above. Press bottom lines.
Press from corners
Finishing the Purse
Place the lining inside the purse, lining up the bottom seams and side seams and pin into place.
Now fold the casing fabric over the outer fabric forming the casing. Half of the casing is inside the purse and half is outside, encasing the outside fabric. Your outside fabric should hit at the fold line in the casing. The handles will come from the inside of the bag and will be sewn into the top line of stitching on the casing.

Casing pinned in place making sure outside is up to the fold line in the casing
Pin all around the casing making sure the handles are up straight and the outside fabric is up to the fold line in the casing and side seams are matching.
Sew the top line of stitching 1/4-inch from the top fold of the purse making sure the handles are coming out of the bag and in place (being sewn into this line of stitching).
Prepare the Snap Closure
Next prepare the snap closure by cutting 4 pieces of metal carpenter tape 1/2 inch less than that of the finished purse. (Cut tape 10-1/2 inches long.) Using an old scissors or tin snips round the edges and place 2 pieces together. Two pieces give it a nice strong snap. Cover the rounded edges with duct tape and trim.
Sew the bottom of the casing about 1/8-inch from the folded seam allowance. On one side carefully open the seam line between the two rows of casing stitching and insert the 2 sets of tape so the numbers face each other and the inside of the tote. Hand stitch the seam closed. Your purse is now finished.

Finished snap close purse
Your purse will easily open by pulling the handles apart and snap closed when you release the handles.
P.S.- These bags are for sale in my Etsy Shop 😀